Tech Theater & Design Books
I have curated a huge list of books that are great resources for teaching and learning design and technology methods, and history. I’ve put the books I have used at the start of each section.
Stage Tech Topics
Theater Technology team members take work done by the design team and bring it to the stage. Technical directors, production electricians, stagehands, drapers, carpenters, riggers and more.
Teachers area
With over 30 years of teaching a thing or two, I’ve gathered some interesting and helpful resources.
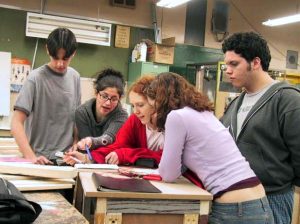
Scott teaching during Stage Lighting Super Saturday at City Tech Entertainment Technology department February 9, 2019
Scott's Training Videos
Scott has been making teaching videos since the mid-2000’s. Here are a few.
Video showing how to notate dimensions between lights on a plot.
About Us &
Why we are Here
Hello. my name is Scott Parker and I want to welcome you to these design/tech pages. HSTech was created over 25 years ago to show the public what my student technicians were doing. Designers & Technicians are equally important to a show as the Director and Actors. We are all charged with supporting the Author’s words. The pages grew, and People visited. They would ask questions, share ideas, give suggestions and more. I would like to thank all the students, faculty and professionals who have contributed to our team. Yes, I consider us all part of a team. Many schools do not have a production-type person. If you have tech questions, Please join our FaceBook Group. I hope that the info here will help those students who have the drive to “get the show-up,” do so safely and have fun. Mission:
- To assist High School Technical Theater students in their desire to learn about, create, and execute theatrical productions.
- To enable the exchange of information in a respectful manner.
- To foster teamwork and peer networks that will last beyond high school.
